This article is part of a series.
Prev: «How To Make a Roguelike Next: How To Make a Roguelike: #2 Views, Screens, Inputs »
Now that you have decided to write your own roguelike, the first thing to do is to set up the project on your computer!
What you’ll need
To get started with the project you’ll need to install:
The latter is not mandatory, but it is highly recommended.
What we’re gonna write
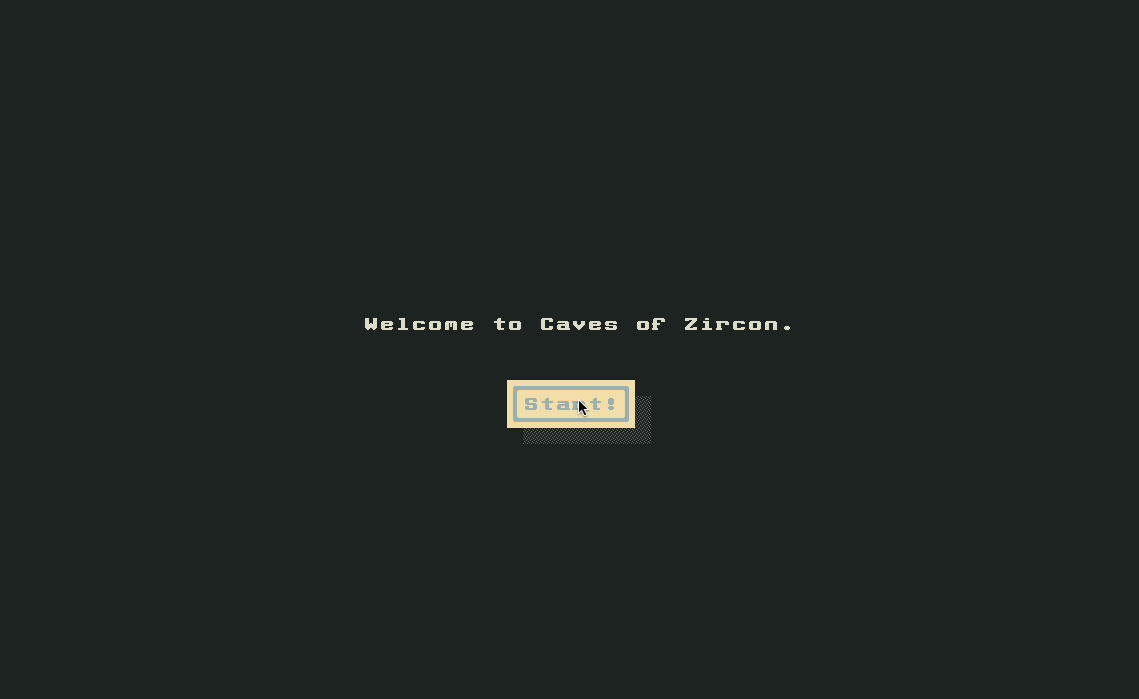
In this tutorial we’ll write Caves of Zircon. The game is about an adventurer, who descends into the Caves of Zircon to gather zircon crystals and fight zombies, kobolds and other mythical creatures along the way.
This game is a classic roguelike. This means that you only have one life, the creatures are ruthless, and you’ll even have to look out for food, since you can starve to death!
The game will look like this when we’re done:
Checking the project out
To get started, let’s check out the code from Git. Navigate to an empty folder and perform this command:
git clone https://github.com/Hexworks/caves-of-zircon-tutorial.git
then navigate to the newly created project:
cd caves-of-zircon-tutorial
This project contains the code from start to finish and for each article there is a Git commit. So let’s reset our project to see the initial project setup by running this command:
git reset --hard 00047e1
Using Gradle
We’re not going to go into details about how to use Gradle, so the only thing you have to know is the command for building the project:
If the CLI complains about execution permissions run this command:
chmod +x gradlew
./gradlew clean build
You can run this command any time you want to build a .jar file from your project.
To run it you just have to call Java with your .jar file as a parameter:
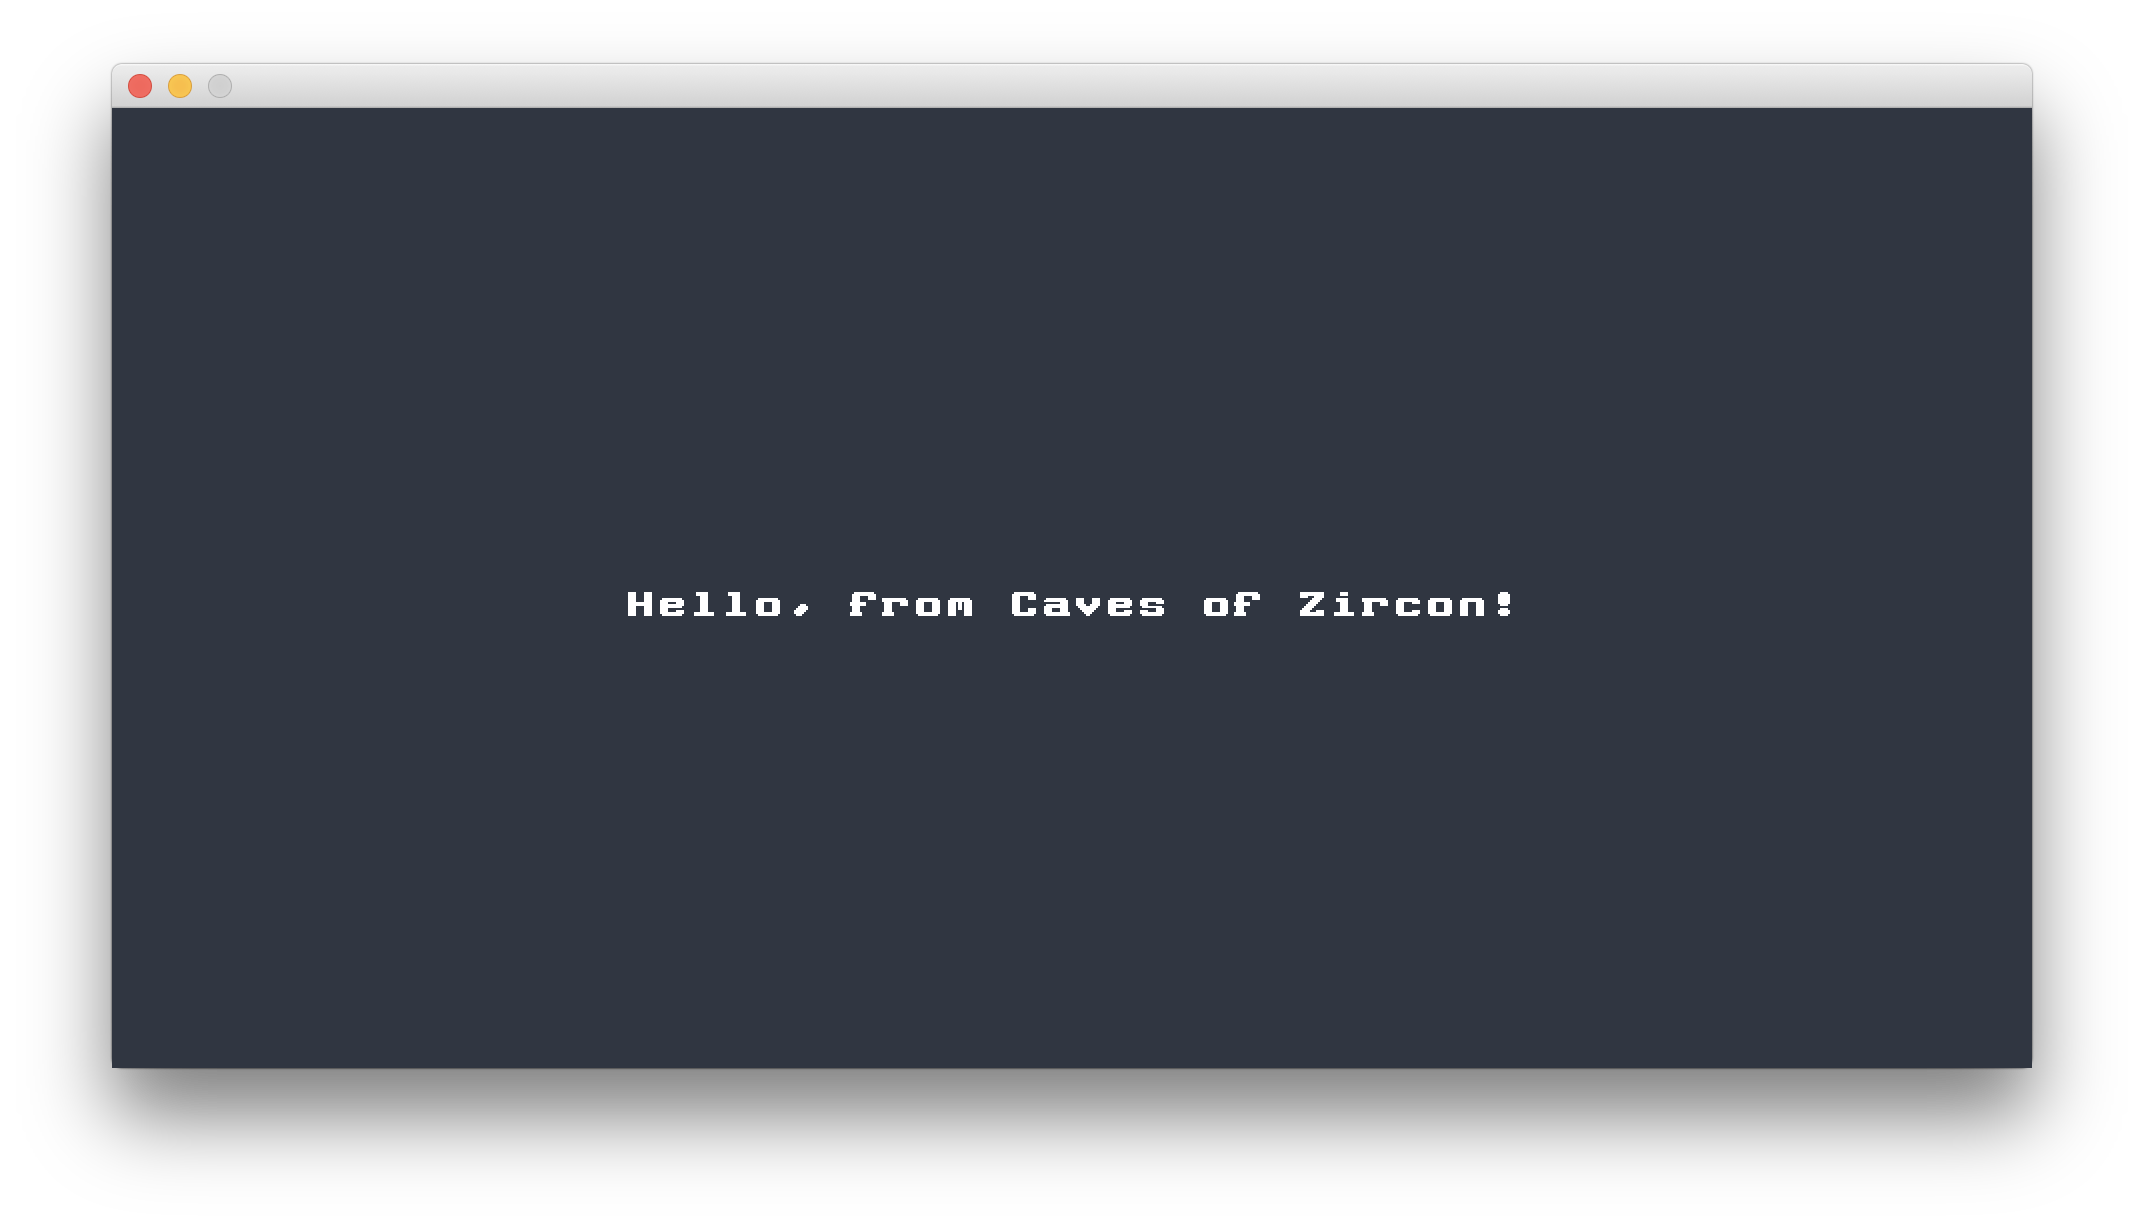
java -jar build/libs/caves-of-zircon.jar
With little luck you’ll see this screen:
If you are curious the command above (
./gradlew clean build) consists of 3 parts:
./gradlew: this will call thegradlewscript that will use the embedded build tool to compile our projectcleanwill just delete thebuildfolder. The results of a compilation go to this folder so deleting it will indeed clean up any previous buildsbuildas its name suggests will compile our program and create a runnable.jarfile
Importing the project to IDEA
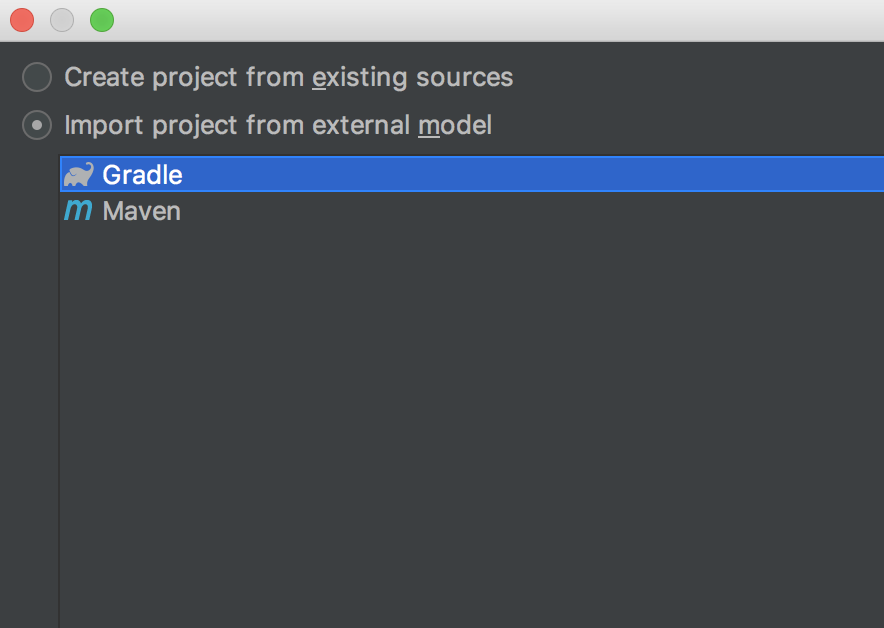
Now let’s import the project we just downloaded into IDEA, so we can start coding. For this we’re gonna use the New > Project from Existing Sources menu:

Then we select Gradle:
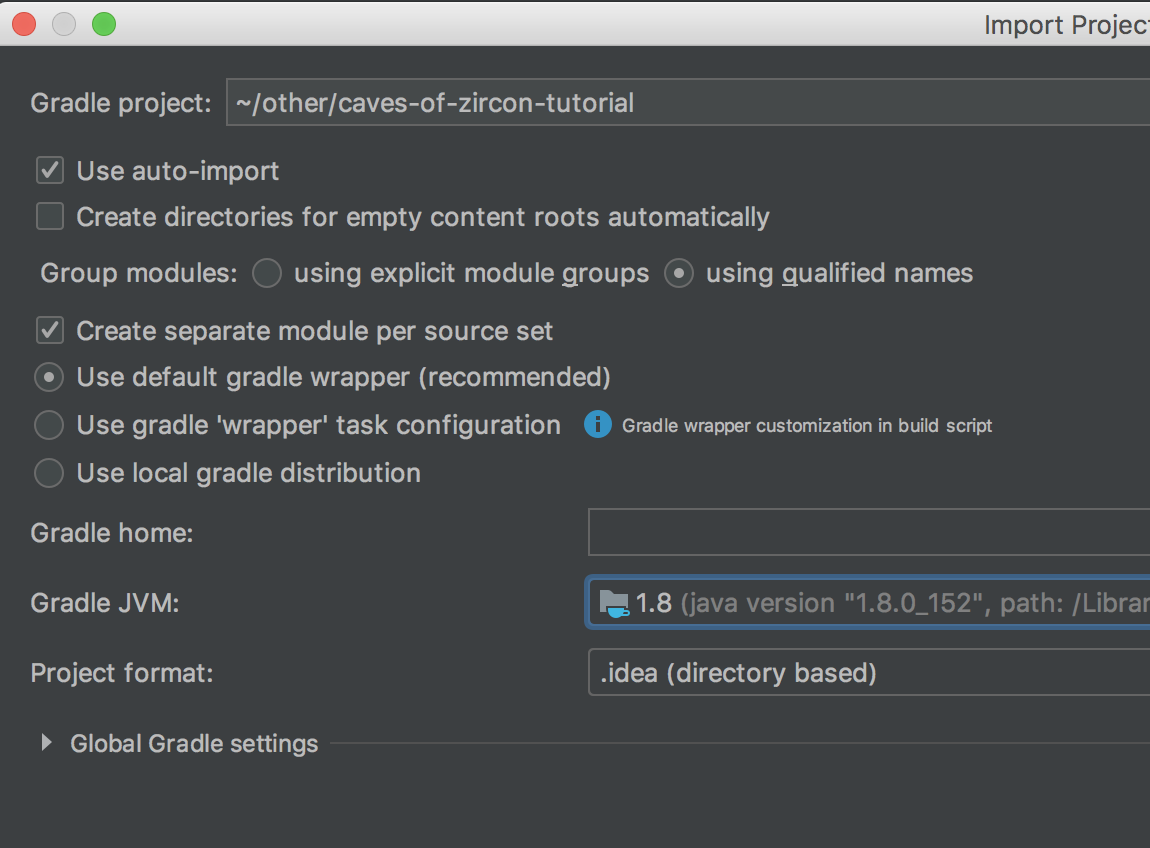
and finally we’ll need to select “Use auto import” and a JVM:
If you have trouble setting up a JDK, then navigate to the File > Project Structure menu:
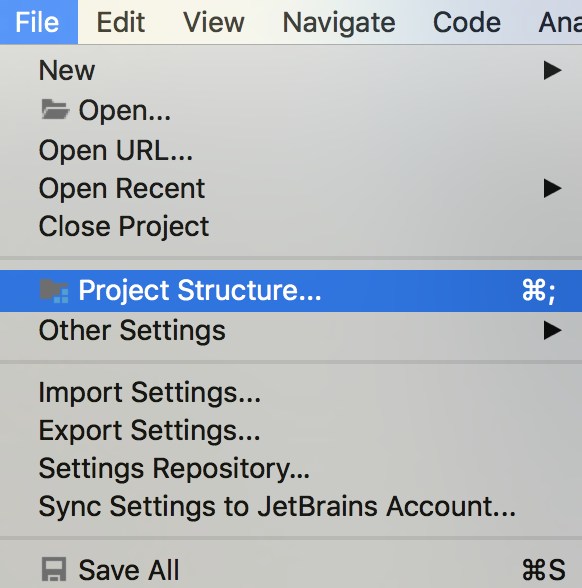
and add a new JDK. Use the one which you installed previously.
Conclusion
We’re all set now! We cloned the skeleton project from GitHub which contains all the setup which is necessary to get started with our project and also imported it into our IDE.
In the next article we’ll take a look at how our tools work and how we can start writing our actual game.
The code of this article can be found in commit #1.