This article is part of a series.
Prev: «How To Make a Roguelike: #11 Wandering Monsters Next: How To Make a Roguelike: #13 Food and Hunger »
We have almost everything for our game. We can explore the cave, fight with monsters, traverse levels, but there is an important piece which is missing: items. In this session we’ll add items, and the corresponding inventory into our game.
Between a Rock and a Hard Place
Items in a roguelike are very important. They can be used to open doors (keys), eaten to fight hunger (food) or gathered to sell them later on (treasures). Let’s start introducing items to our game by adding rocks which we can pick up…more specifically Zircons!.
First of all let’s think about how we would represent items. What’s true for all items is that they have a Tile just like the player and a bat. Because we plan to have an inventory as well it seems like a good idea to have icons for our items as well. We’re going to use GraphicalTiles for this as you’ll see later.
Since we already have an EntityTile let’s start by adding an ItemIcon attribute:
package com.example.cavesofzircon.attributes

import org.hexworks.amethyst.api.base.BaseAttribute
import org.hexworks.zircon.api.data.GraphicalTile

data class ItemIcon(val iconTile: GraphicalTile) : BaseAttribute()
With this we can create an interface for our Items and also add some extension properties which will help when using them:
package com.example.cavesofzircon.attributes.types

import com.example.cavesofzircon.attributes.EntityTile
import com.example.cavesofzircon.attributes.ItemIcon
import com.example.cavesofzircon.extensions.GameEntity
import org.hexworks.amethyst.api.entity.EntityType
import org.hexworks.zircon.api.data.GraphicalTile
import org.hexworks.zircon.api.data.Tile

interface Item : EntityType

val GameEntity<Item>.tile: Tile
    get() = findAttribute(EntityTile::class).get().tile

val GameEntity<Item>.iconTile: GraphicalTile
    get() = findAttribute(ItemIcon::class).get().iconTile
And we can also add a typealias for GameEntity<Item> to our TypeAliases.kt file:
import com.example.cavesofzircon.attributes.types.Item

typealias GameItem = GameEntity<Item>
so that we can refer to game items in a convenient way. As for our Zircon we just have to add a new EntityType to our game:
// Add this to EntityTypes.kt

object Zircon : BaseEntityType(
    name = "Zircon",
    description = "A small piece of Zircon. Its value is unfathomable."
), Item
As usual we’re going to add a new Tile for this in our GameTileRepository and GameColors:
// put this in GameColors
val ZIRCON_COLOR = TileColor.fromString("#dddddd")

// and this in GameTileRepository
val ZIRCON  = Tile.newBuilder()
    .withCharacter(',')
    .withBackgroundColor(GameColors.FLOOR_BACKGROUND)
    .withForegroundColor(GameColors.ZIRCON_COLOR)
    .buildCharacterTile()
All our items will also be Entity objects so to create a Zircon we just have to add it to our EntityFactory:
import com.example.cavesofzircon.attributes.ItemIcon
import com.example.cavesofzircon.attributes.types.Zircon
import org.hexworks.zircon.api.GraphicalTilesetResources
import org.hexworks.zircon.api.data.Tile

fun newZircon() = newGameEntityOfType(Zircon) {
    attributes(
        ItemIcon(
            Tile.newBuilder()
                .withName("white gem")
                .withTileset(GraphicalTilesetResources.nethack16x16())
                .buildGraphicalTile()
        ),
        EntityPosition(),
        EntityTile(GameTileRepository.ZIRCON)
    )
}
What’s interesting here is that we’re using the graphical tiles from the Nethack Tileset. These come from the Zircon distribution and you can mix and match CP437 and Graphical Tiles as you see fit!
Adding Zircons to our Game
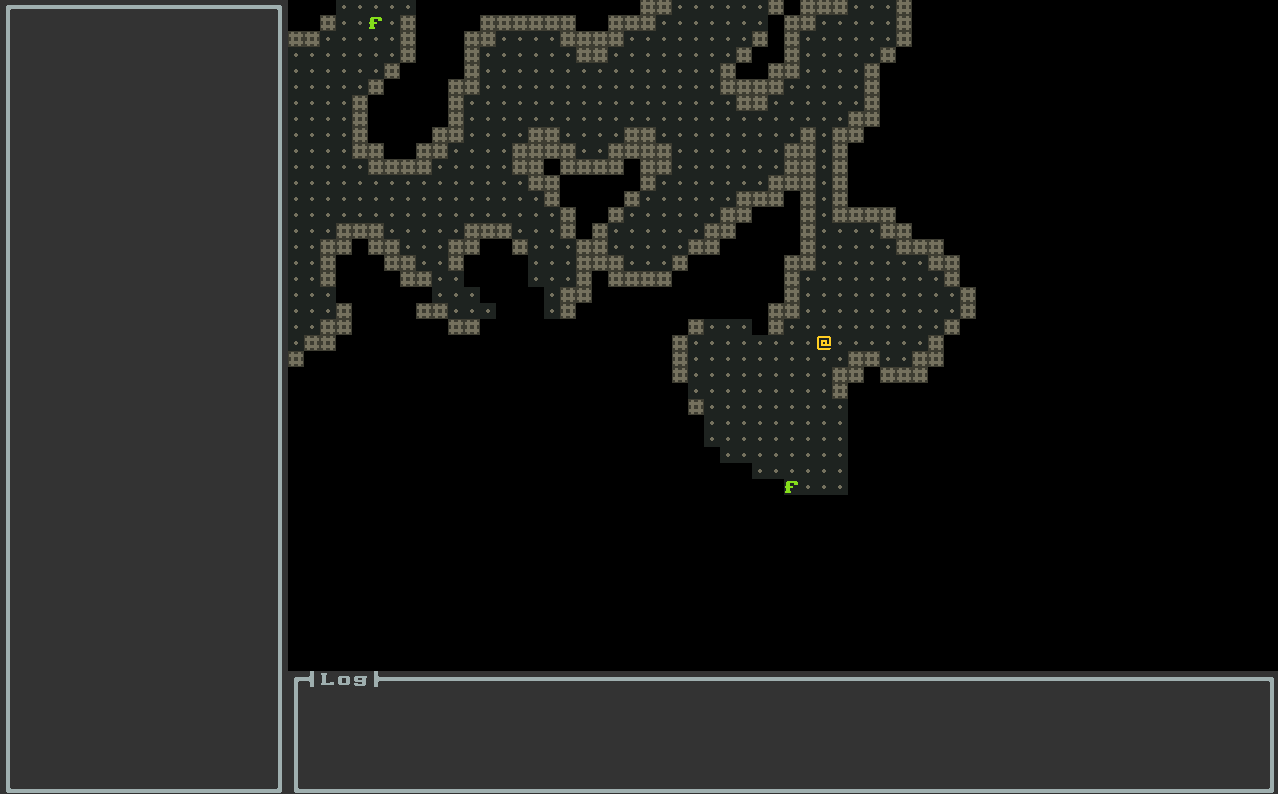
Now that we have the entities we just need to add them to the game world so that our adventurer can pick them up. Let’s scatter them randomly throughout the levels.
First let’s define a configuration value for our zircons in GameConfig:
const val ZIRCONS_PER_LEVEL = 20
then we can add a function for adding them in GameBuilder:
import org.hexworks.cavesofzircon.GameConfig.ZIRCONS_PER_LEVEL

private fun addZircons() = also {
    repeat(world.actualSize.zLength) { level ->
        repeat(GameConfig.ZIRCONS_PER_LEVEL) {
            EntityFactory.newZircon().addToWorld(level)
        }
    }
}
and call it in the buildGame function:
addZircons()
Let’s see what we have:
So far so good! Now we just need a way to pick them up and store them! Let’s introduce the Inventory:
Adding an Inventory
An inventory is just an Attribute that is capable of storing entities which happen to be Items. A good inventory also has a size and some means to add/remove items from it. Let’s take a look at our implementation:
package com.example.cavesofzircon.attributes

import com.example.cavesofzircon.extensions.GameItem
import org.hexworks.amethyst.api.base.BaseAttribute
import org.hexworks.cobalt.core.api.UUID
import org.hexworks.cobalt.datatypes.Maybe

class Inventory(val size: Int) : BaseAttribute() {                  // 1

    private val currentItems = mutableListOf<GameItem>()

    val items: List<GameItem>
        get() = currentItems.toList()

    val isEmpty: Boolean                                            // 2
        get() = currentItems.isEmpty()

    val isFull: Boolean                                             // 3
        get() = currentItems.size >= size

    fun findItemBy(id: UUID): Maybe<GameItem> {                     // 4
        return Maybe.ofNullable(items.firstOrNull { it.id == id })
    }

    fun addItem(item: GameItem): Boolean {                          // 5
        return if (isFull.not()) {
            currentItems.add(item)
        } else false
    }

    fun removeItem(entity: GameItem): Boolean {                     // 6
        return currentItems.remove(entity)
    }
}
This implementation is very simple, it:
- has a size
- we can tell whether it is empty
- or full
- we can find an item in it
- add new ones
- and remove them
Now that we have an actual Inventory Entity let’s add a a counterpart for Item: ItemHolder which represents an Entity which has an Inventory:
package com.example.cavesofzircon.attributes.types

import com.example.cavesofzircon.attributes.Inventory
import com.example.cavesofzircon.extensions.GameItem
import com.example.cavesofzircon.extensions.GameItemHolder
import org.hexworks.amethyst.api.entity.EntityType

interface ItemHolder : EntityType

fun GameItemHolder.addItem(item: GameItem) = inventory.addItem(item)

fun GameItemHolder.removeItem(item: GameItem) = inventory.removeItem(item)

val GameItemHolder.inventory: Inventory
    get() = findAttribute(Inventory::class).get()
add a convenient typealias for GameEntity<ItemHolder> to TypeAliases.kt:
import com.example.cavesofzircon.attributes.types.ItemHolder

typealias GameItemHolder = GameEntity<ItemHolder>
and make the player type implement it:
object Player : BaseEntityType(
    name = "player"
), Combatant, ItemHolder
Let’s make our player have an Inventory now so add it in the newPlayer function in EntityFactory:
// Modify EntityFactory with these

import com.example.cavesofzircon.attributes.Inventory

fun newPlayer() = newGameEntityOfType(Player) {
    attributes(
        Vision(9),
        EntityPosition(),
        BlockOccupier,
        CombatStats.create(
            maxHp = 100,
            attackValue = 10,
            defenseValue = 5),
        EntityTile(GameTileRepository.PLAYER),
        EntityActions(Dig::class, Attack::class),
        Inventory(10)
    )
    behaviors(InputReceiver)
    facets(Movable, CameraMover, StairClimber, StairDescender, Attackable, Destructible)
}
Now to be able to pick items up we just need to add a shortcut for it. Let’s use the p button for this so whenever the player stands on a tile which has items on it and presses p the item at the top should appear in the Inventory. You know the drill by now: first we need to add a Message for this:
package com.example.cavesofzircon.messages

import com.example.cavesofzircon.extensions.GameItemHolder
import com.example.cavesofzircon.extensions.GameMessage
import com.example.cavesofzircon.world.GameContext
import org.hexworks.zircon.api.data.Position3D

data class PickItemUp(
    override val context: GameContext,
    override val source: GameItemHolder,
    val position: Position3D
) : GameMessage
Now that we have a Message for picking items up we just need to add the appropriate Behavior that consumes it. For this we need to add a helper function to our EntityExtensions.kt which we can use to filter the entities for a given type:
// modify EntityExtensions.kt with these
import org.hexworks.amethyst.api.entity.Entity
import org.hexworks.amethyst.api.entity.EntityType
import kotlin.reflect.full.isSuperclassOf

inline fun <reified T : EntityType> Iterable<AnyGameEntity>.filterType(): List<Entity<T, GameContext>> {
    return filter { T::class.isSuperclassOf(it.type::class) }.toList() as List<Entity<T, GameContext>>
}
With this we can check the items of a Block for a given type (Item in our case) in the following code:
package com.example.cavesofzircon.systems

import com.example.cavesofzircon.attributes.types.Item
import com.example.cavesofzircon.attributes.types.addItem
import com.example.cavesofzircon.extensions.GameItem
import com.example.cavesofzircon.extensions.filterType
import com.example.cavesofzircon.extensions.isPlayer
import com.example.cavesofzircon.functions.logGameEvent
import com.example.cavesofzircon.messages.PickItemUp
import com.example.cavesofzircon.world.GameContext
import com.example.cavesofzircon.world.World
import org.hexworks.amethyst.api.Consumed
import org.hexworks.amethyst.api.Response
import org.hexworks.amethyst.api.base.BaseFacet
import org.hexworks.cobalt.datatypes.Maybe
import org.hexworks.zircon.api.data.Position3D

object ItemPicker : BaseFacet<GameContext, PickItemUp>(PickItemUp::class) {

    override suspend fun receive(message: PickItemUp): Response {
        val (context, itemHolder, position) = message
        val world = context.world
        world.findTopItem(position).map { item ->                                   // 1
            if (itemHolder.addItem(item)) {                                         // 2
                world.removeEntity(item)                                            // 3
                val subject = if (itemHolder.isPlayer) "You" else "The $itemHolder" // 4
                val verb = if (itemHolder.isPlayer) "pick up" else "picks up"
                logGameEvent("$subject $verb the $item.", ItemPicker)
            }
        }
        return Consumed
    }

    private fun World.findTopItem(position: Position3D): Maybe<GameItem> =
        fetchBlockAt(position).flatMap { block ->                                   // 5
            Maybe.ofNullable(block.entities.filterType<Item>().firstOrNull())
        }

}
ItemPicker receives PickItemUp messages and
- It tries to find the top item on a block and
- If there was an item there it tries to add it to the inventory of the item holder
- If that succeeded it removes the item from the world
- Then prints a nice log message
- Here what
flatMapdoes is that it unwraps theblockfrom theMaybe(it does nothing if the Maybe is empty) and re-wraps it int anotherMaybewhich holds our item. Note that this can also be empty if there were noItems in theBlock.
Now that we have the Message and the Behavior ready we just need to add the p shortcut to InputReceiver:
// modify InputReceiver with these

import com.example.cavesofzircon.messages.PickItemUp

override fun update(entity: GameEntity<out EntityType>, context: GameContext): Boolean {
    val (_, _, uiEvent, player) = context
    val currentPos = player.position
    if (uiEvent is KeyboardEvent) {
        when (uiEvent.code) {
            KeyCode.KEY_W -> player.moveTo(currentPos.withRelativeY(-1), context)
            KeyCode.KEY_A -> player.moveTo(currentPos.withRelativeX(-1), context)
            KeyCode.KEY_S -> player.moveTo(currentPos.withRelativeY(1), context)
            KeyCode.KEY_D -> player.moveTo(currentPos.withRelativeX(1), context)
            KeyCode.KEY_R -> player.moveUp(context)
            KeyCode.KEY_F -> player.moveDown(context)
            KeyCode.KEY_P -> player.pickItemUp(currentPos, context)     // 1
            else -> {
                logger.debug("UI Event ($uiEvent) does not have a corresponding command, it is ignored.")
            }
        }
    }
    return true
}

private suspend fun GameEntity<Player>.pickItemUp(position: Position3D, context: GameContext) {     // 2
    receiveMessage(PickItemUp(context, this, position))
}

// ...
Here we:
- Just add a new key handler for
KEY_P - And a helper method which sends the
PickItemUpmessage.PickItemUponly acceptsItemHolders but we augmented thePlayertype with it so everything works just fine.
Now if we add the ItemPicker facet to our player entity:
// new import
import com.example.cavesofzircon.systems.ItemPicker

fun newPlayer() = newGameEntityOfType(Player) {

    // ...

    facets(/* ... */ ItemPicker)
}
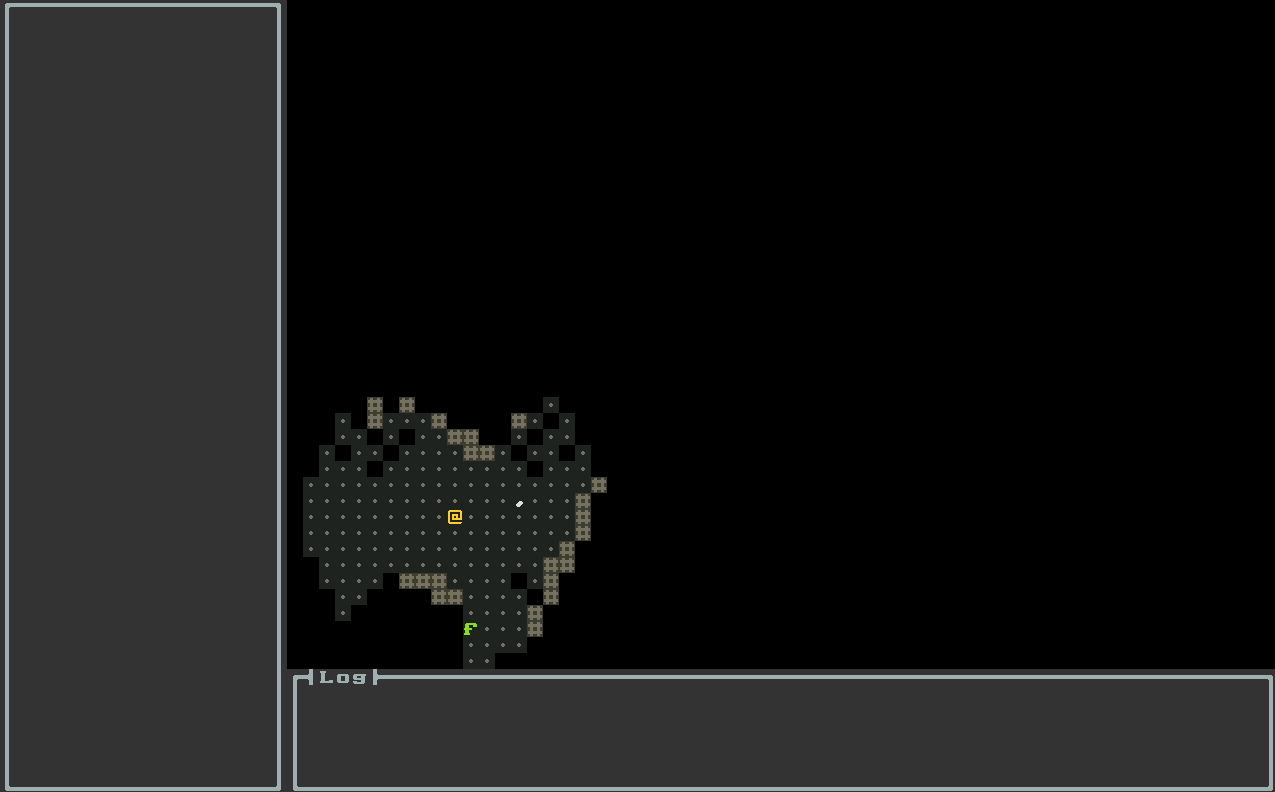
we’re able to pick up items in our game:
Wow, that’s nice! But how do we check the inventory?
Displaying the Inventory
Creating a nice UI is not an easy task especially if you have no experience in designing one. Luckily Zircon comes with a bunch of Components we can use to simplify it. Let’s think about how we would display an inventory. A tabular display will probably suffice with a row for each item. In a row we would display the icon, the name of the item and a Button we can press to drop the item. We can also add a title and a header as a bonus! Let’s see how we can go about implementing it.
First, we’re gonna need a row Fragment for the items:
A
Fragmentis just a wrapper for aComponentthat lets us re-use our UI elements. It differs from a simpleContainerlike aPanelin a way that aFragmentis its own class we can instantiate, and it can also have its own internal state. Since theFragmentis a wrapper it needs some component to wrap. This is called itsrootthat can be any component as you’ll see later.
package com.example.cavesofzircon.view.fragment

import com.example.cavesofzircon.attributes.types.iconTile
import com.example.cavesofzircon.extensions.GameItem
import org.hexworks.zircon.api.Components
import org.hexworks.zircon.api.component.Fragment
import org.hexworks.zircon.api.graphics.Symbols

class InventoryRowFragment(width: Int, item: GameItem) : Fragment { // 1

    val dropButton = Components.button()                // 2
        .withText("${Symbols.ARROW_DOWN}")              // 3
        .withDecorations()                              // 4
        .build()

    override val root = Components.hbox()               // 5
        .withSpacing(1)                                 // 6
        .withSize(width, 1)
        .build().apply {
            addComponent(
                Components.icon()                       // 7
                    .withIcon(item.iconTile)
            )
            addComponent(
                Components.label()
                    .withSize(InventoryFragment.NAME_COLUMN_WIDTH, 1)   // 8
                    .withText(item.name)
            )
            addComponent(dropButton)
        }
}
Where we
- Implement
Fragmentand take thewidthand theitemas a parameter - Add a
Buttonfor dropping the item - Make it have a nice down arrow as an icon
Buttons have some decorations by default and we explicitly tell the builder not to add them here- And we make the
rootaHBox - Which will add a spacing of one tile between its child components
- Then we add the icon
- And the name of the item.
A
HBoxis a container component which aligns the components you add to it from left to right automatically and it also handles item removal. It looks like this and it is very useful for implementing complex UI layouts.
Next up is the InventoryFragment that will display all rows, the header and the title. There are a lot of schools for designing UI workflows, but we’re not going to pick a specific method. Instead we’re going to be pragmatic: our UI elements will only know about the things that are necessary for them and the locality of our operations will follow the same pattern. This means that the inventory will know that when we drop an item it needs to remove a row, but anything else is not its concern, so we’re going to have a callback
which we’ll use from our System which handles dropping:
package com.example.cavesofzircon.view.fragment

import com.example.cavesofzircon.attributes.Inventory
import com.example.cavesofzircon.extensions.GameItem
import org.hexworks.zircon.api.Components
import org.hexworks.zircon.api.component.Fragment
import org.hexworks.zircon.api.uievent.Processed

class InventoryFragment(
    inventory: Inventory,
    width: Int,
    onDrop: (GameItem) -> Unit
) : Fragment {

    override val root = Components.vbox()           // 1
        .withSize(width, inventory.size + 1)
        .build().apply {
            addComponent(Components.hbox()          // 2
                .withSpacing(1)
                .withSize(width, 1)
                .build().apply {
                    addComponent(Components.label().withText("").withSize(1, 1))
                    addComponent(Components.header().withText("Name").withSize(NAME_COLUMN_WIDTH, 1))
                    addComponent(Components.header().withText("Actions").withSize(ACTIONS_COLUMN_WIDTH, 1))
                }
            )
            inventory.items.forEach { item ->       // 3
                val row = InventoryRowFragment(width, item)
                addFragment(row).apply {
                    row.dropButton.onActivated {    // 4
                        detach()                    // 5
                        onDrop(item)                // 6
                    }
                }
            }
        }

    companion object {
        const val NAME_COLUMN_WIDTH = 15
        const val ACTIONS_COLUMN_WIDTH = 10
    }
}
Here we:
- Create a
VBoxfor holding the rows which is very similar to theHBoxbut it aligns its items from top to bottom instead - Add a header
- And for each inventory item we add a row fragment
- And an event listener which is called whenever the
dropButtongets activated - In that case we remove the whole row
- And call the
onDropcallback
An activation event can happen in two cases: the user clicks on a
Button, or moves the focus to theButtonand presses the activation key ([Spacebar]by default).
Now we just need to think about how to open the inventory itself. For this we’re going to add 2 new systems: InventoryInspector and ItemDropper. Let’s start with ItemDropper as it is very simple. For it we just need a Message, DropItem:
package com.example.cavesofzircon.messages

import com.example.cavesofzircon.extensions.GameItem
import com.example.cavesofzircon.extensions.GameItemHolder
import com.example.cavesofzircon.extensions.GameMessage
import com.example.cavesofzircon.world.GameContext
import org.hexworks.zircon.api.data.Position3D

data class DropItem(
    override val context: GameContext,
    override val source: GameItemHolder,
    val item: GameItem,
    val position: Position3D
) : GameMessage
and the Facet, ItemDropper:
package com.example.cavesofzircon.systems

import com.example.cavesofzircon.attributes.types.removeItem
import com.example.cavesofzircon.extensions.isPlayer
import com.example.cavesofzircon.functions.logGameEvent
import com.example.cavesofzircon.messages.DropItem
import com.example.cavesofzircon.world.GameContext
import org.hexworks.amethyst.api.Consumed
import org.hexworks.amethyst.api.Response
import org.hexworks.amethyst.api.base.BaseFacet

object ItemDropper : BaseFacet<GameContext, DropItem>(DropItem::class) {    // 1
    override suspend fun receive(message: DropItem): Response {
        val (context, itemHolder, item, position) = message
        if (itemHolder.removeItem(item)) {                                  // 2
            context.world.addEntity(item, position)                         // 3
            val subject = if (itemHolder.isPlayer) "You" else "The $itemHolder"
            val verb = if (itemHolder.isPlayer) "drop" else "drops"
            logGameEvent("$subject $verb the $item.", ItemDropper)
        }
        return Consumed
    }
}
In this System we:
- Consume the
DropItemcommand - Try to remove the item from the
itemHolder - And if it was successful we add it back to the
World
Inventory inspection is similar but it is a bit more involved, because we’re going to use a dialog for it! Let’s start with a Message, InspectInventory:
package com.example.cavesofzircon.messages

import com.example.cavesofzircon.extensions.GameItemHolder
import com.example.cavesofzircon.extensions.GameMessage
import com.example.cavesofzircon.world.GameContext
import org.hexworks.zircon.api.data.Position3D

data class InspectInventory(
    override val context: GameContext,
    override val source: GameItemHolder,
    val position: Position3D
) : GameMessage
and let’s see how InventoryInspector looks like:
package com.example.cavesofzircon.systems

import com.example.cavesofzircon.GameConfig
import com.example.cavesofzircon.attributes.types.inventory
import com.example.cavesofzircon.messages.DropItem
import com.example.cavesofzircon.messages.InspectInventory
import com.example.cavesofzircon.view.fragment.InventoryFragment
import com.example.cavesofzircon.world.GameContext
import kotlinx.coroutines.CoroutineScope
import kotlinx.coroutines.launch
import org.hexworks.amethyst.api.Consumed
import org.hexworks.amethyst.api.Response
import org.hexworks.amethyst.api.base.BaseFacet
import org.hexworks.amethyst.platform.Dispatchers
import org.hexworks.zircon.api.ComponentDecorations.box
import org.hexworks.zircon.api.ComponentDecorations.shadow
import org.hexworks.zircon.api.Components
import org.hexworks.zircon.api.builder.component.ModalBuilder
import org.hexworks.zircon.api.component.ComponentAlignment
import org.hexworks.zircon.api.data.Size
import org.hexworks.zircon.api.uievent.Processed
import org.hexworks.zircon.internal.component.modal.EmptyModalResult

object InventoryInspector : BaseFacet<GameContext, InspectInventory>(InspectInventory::class) {

    val DIALOG_SIZE = Size.create(35, 15)

    override suspend fun receive(message: InspectInventory): Response {
        val (context, itemHolder, position) = message

        val screen = context.screen

        val panel = Components.panel()      // 1
            .withSize(DIALOG_SIZE)
            .withDecorations(box(title = "Inventory"), shadow())
            .build()

        val fragment = InventoryFragment(itemHolder.inventory, DIALOG_SIZE.width - 3) { item ->   // 2
            CoroutineScope(Dispatchers.Single).launch {                                           // 3
                itemHolder.receiveMessage(DropItem(context, itemHolder, item, position))
            }
        }

        panel.addFragment(fragment)

        val modal = ModalBuilder.newBuilder<EmptyModalResult>()     // 4
            .withParentSize(screen.size)
            .withComponent(panel)
            .withCenteredDialog(true)
            .build()

        panel.addComponent(Components.button()                      // 5
            .withText("Close")
            .withAlignmentWithin(panel, ComponentAlignment.BOTTOM_LEFT)
            .build().apply {
                onActivated {
                    modal.close(EmptyModalResult)
                    Processed
                }
            })

        modal.theme = GameConfig.THEME
        screen.openModal(modal)
        return Consumed
    }
}
This Facet works in a way that:
- When we want to open the inventory it creates a
Panel - Which holds our inventory fragment
- And responds to the
onDropcallback by sending theDropItemcommand to our entity. SincereceiveMessageis a suspending function we need a coroutine scope to call it. Fortunately for us Amethyst comes with a scope that we can use:Dispatchers.Single. - Then we use a
Modalfor displaying our panel - And it has a close button that will close the modal when clicked.
A
Modalis an object which will block all inputs to other components until it is closed. If you have ever seen analertdialog in a browser this concept will be familiar.Modals can also return a value, but here we use the built-inEmptyModalResultbecause we don’t want to use this feature here.
Now we just have to add all this to our player entity:
// modify EntityFactory.kt with these

import com.example.cavesofzircon.systems.InventoryInspector
import com.example.cavesofzircon.systems.ItemDropper

fun newPlayer() = newGameEntityOfType(Player) {

    // ...

    facets(/* ... */ InventoryInspector, ItemDropper)
}
and augment our InputReceiver with the new shortcut for opening the inventory: the i key:
// modify InputReceiver with these

// new import
import com.example.cavesofzircon.messages.InspectInventory

// ...

override fun update(entity: GameEntity<out EntityType>, context: GameContext): Boolean {
    val (_, _, uiEvent, player) = context
    val currentPos = player.position
    if (uiEvent is KeyboardEvent) {
        when (uiEvent.code) {
            KeyCode.KEY_W -> player.moveTo(currentPos.withRelativeY(-1), context)
            KeyCode.KEY_A -> player.moveTo(currentPos.withRelativeX(-1), context)
            KeyCode.KEY_S -> player.moveTo(currentPos.withRelativeY(1), context)
            KeyCode.KEY_D -> player.moveTo(currentPos.withRelativeX(1), context)
            KeyCode.KEY_R -> player.moveUp(context)
            KeyCode.KEY_F -> player.moveDown(context)
            KeyCode.KEY_P -> player.pickItemUp(currentPos, context)
            KeyCode.KEY_I -> player.inspectInventory(currentPos, context)       // modify here
            else -> {
                logger.debug("UI Event ($uiEvent) does not have a corresponding command, it is ignored.")
            }
        }
    }
    return true
}

// add this function

private suspend fun GameEntity<Player>.inspectInventory(position: Position3D, context: GameContext) {
    receiveMessage(InspectInventory(context, this, position))
}

// ...
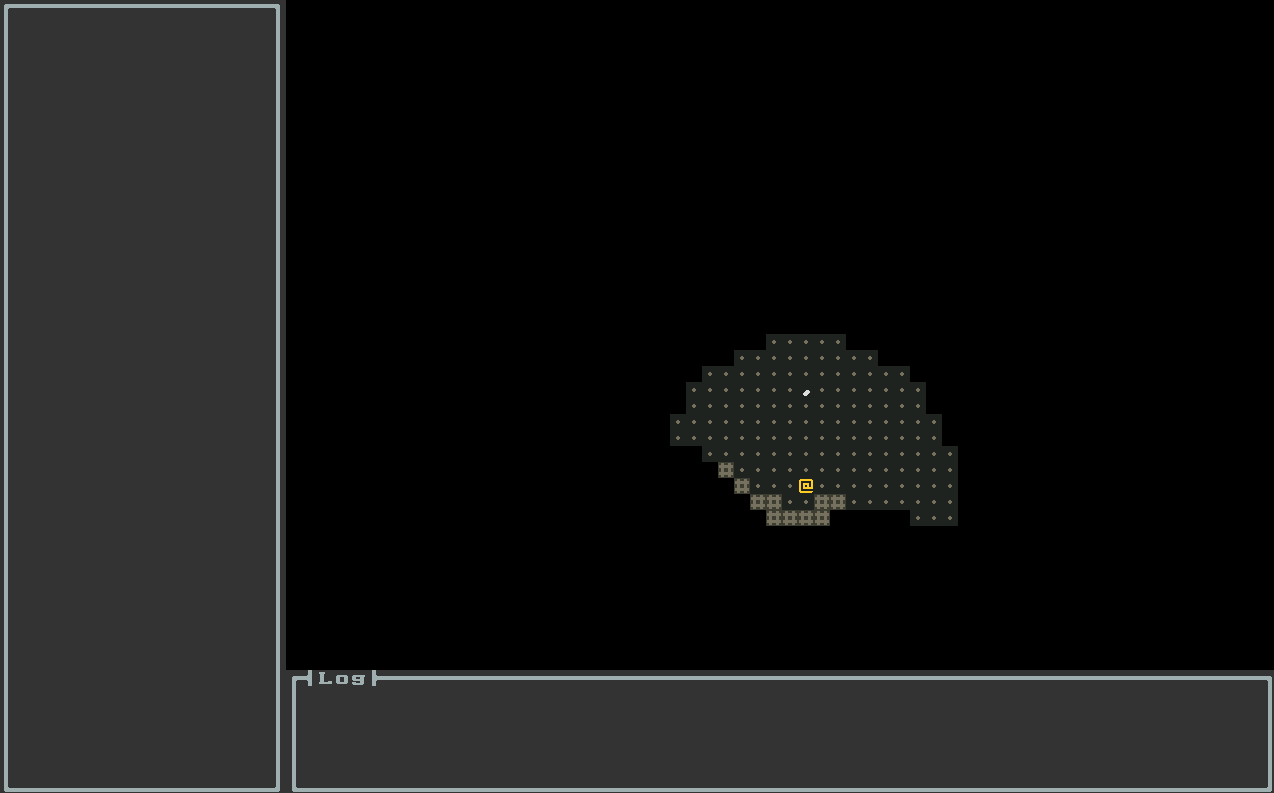
Now let’s see what we created:
Now, that’s nice. We’ve just made our roguelike great again!
Conclusion
In this session we added a whole inventory system into our game complete with items and a nice inventory dialog. This is a great start, so next we’re going to add more items, and some new mechanisms to our game: food and hunger!
Until then go forth and kode on!
The code of this article can be found in commit #12.