This article is part of a series.
Prev: «How To Make a Roguelike: #17 Experience and Leveling Up Next: How To Make a Roguelike: #19 Win and Lose Conditions »
We now have a nice game which has almost all the things which are necessary for a roguelike, but when a new player starts to play our game it is not obvious how things work. Let’s fix it by adding a Help dialog, and an Examine dialog to take a look at our items.
A Help Dialog
Let’s start by adding a new Help dialog. It will contain the list of keys the player can use when playing the game and also some general instructions on how to play:
package com.example.cavesofzircon.view.dialog

import org.hexworks.zircon.api.ComponentDecorations.box
import org.hexworks.zircon.api.Components
import org.hexworks.zircon.api.graphics.BoxType
import org.hexworks.zircon.api.screen.Screen

class HelpDialog(screen: Screen) : Dialog(screen) {

    override val container = Components.panel()
            .withDecorations(box(title = "Help", boxType = BoxType.TOP_BOTTOM_DOUBLE))
            .withSize(50, 30)
            .build().apply {

                addComponent(Components.vbox()
                        .withSize(contentSize.width, contentSize.height - 1)
                        .withSpacing(2)
                        .build().apply {
                            addComponent(Components.textBox(contentSize.width)
                                    .addNewLine()
                                    .addHeader("Caves of Zircon")
                                    .addParagraph("""
                            Descend to the Caves Of Zircon and collect as many Zircons as you can.
                             Find the exit (+) to win the game. Use what you find to avoid dying.""".trimIndent()
                                    )
                            )

                            addComponent(Components.textBox(40)
                                    .addHeader("Navigation:")
                                    .addListItem("[Tab]: Focus next")
                                    .addListItem("[Shift] + [Tab]: Focus previous")
                                    .addListItem("[Space]: Activate focused item")
                            )

                            addComponent(Components.hbox()
                                    .withSize(width, 10)
                                    .build().apply {
                                        addComponent(Components.textBox(width / 2)
                                                .addHeader("Movement:")
                                                .addListItem("wasd: Movement")
                                                .addListItem("r: Move up")
                                                .addListItem("f: Move down")
                                        )

                                        addComponent(Components.textBox(width / 2)
                                                .addHeader("Actions:")
                                                .addListItem("(i)nventory")
                                                .addListItem("(p)ick up")
                                                .addListItem("(h)elp")
                                        )
                                    })
                        })
            }
}
We’re using the TextBox which makes it easy to create textual content with some minimal markup. This also hints at our next article: how you can win the game by finding the exit!
Opening this dialog can be done from the InputReceiver, we just need to add a new function:
import com.example.cavesofzircon.view.dialog.HelpDialog
import org.hexworks.zircon.api.screen.Screen

private fun Screen.showHelp() {
    this.openModal(HelpDialog(this))
}
which we can open when the user presses the i key:
// ...
KeyCode.KEY_H -> context.screen.showHelp()
// ...
This is a good example of when not to add extra complexity. Here we could have used a Message like with the other keys but if we think about the help screen a bit we can realize that there is no interaction in the help dialog an we’re not modifying anything either. It is just an informative screen, so we just open it from the InputReceiver.
It looks kinda nice, no?

Examining Items
Examination is a bit more involved but we have almost everything in place to make it work.
First of all we need to create the dialog itself:
package com.example.cavesofzircon.view.dialog

import com.example.cavesofzircon.attributes.types.iconTile
import com.example.cavesofzircon.extensions.GameItem
import org.hexworks.zircon.api.ComponentDecorations.box
import org.hexworks.zircon.api.Components
import org.hexworks.zircon.api.GraphicalTilesetResources
import org.hexworks.zircon.api.graphics.BoxType
import org.hexworks.zircon.api.screen.Screen

class ExamineDialog(screen: Screen, item: GameItem) : Dialog(screen) {

    override val container = Components.panel()
            .withDecorations(box(
                    title = "Examining ${item.name}",
                    boxType = BoxType.TOP_BOTTOM_DOUBLE
            ))
            .withSize(25, 15)
            .build().apply {
                addComponent(Components.textBox(23)
                        .addHeader("Name", withNewLine = false)
                        .addInlineComponent(Components.icon()
                                .withIcon(item.iconTile)
                                .withTileset(GraphicalTilesetResources.nethack16x16())
                                .build())
                        .addInlineComponent(Components.label()
                                .withText(" ${item.name}")
                                .build())
                        .commitInlineElements()
                        .addNewLine()
                        .addHeader("Description", withNewLine = false)
                        .addParagraph(item.description, withNewLine = false))
            }
}
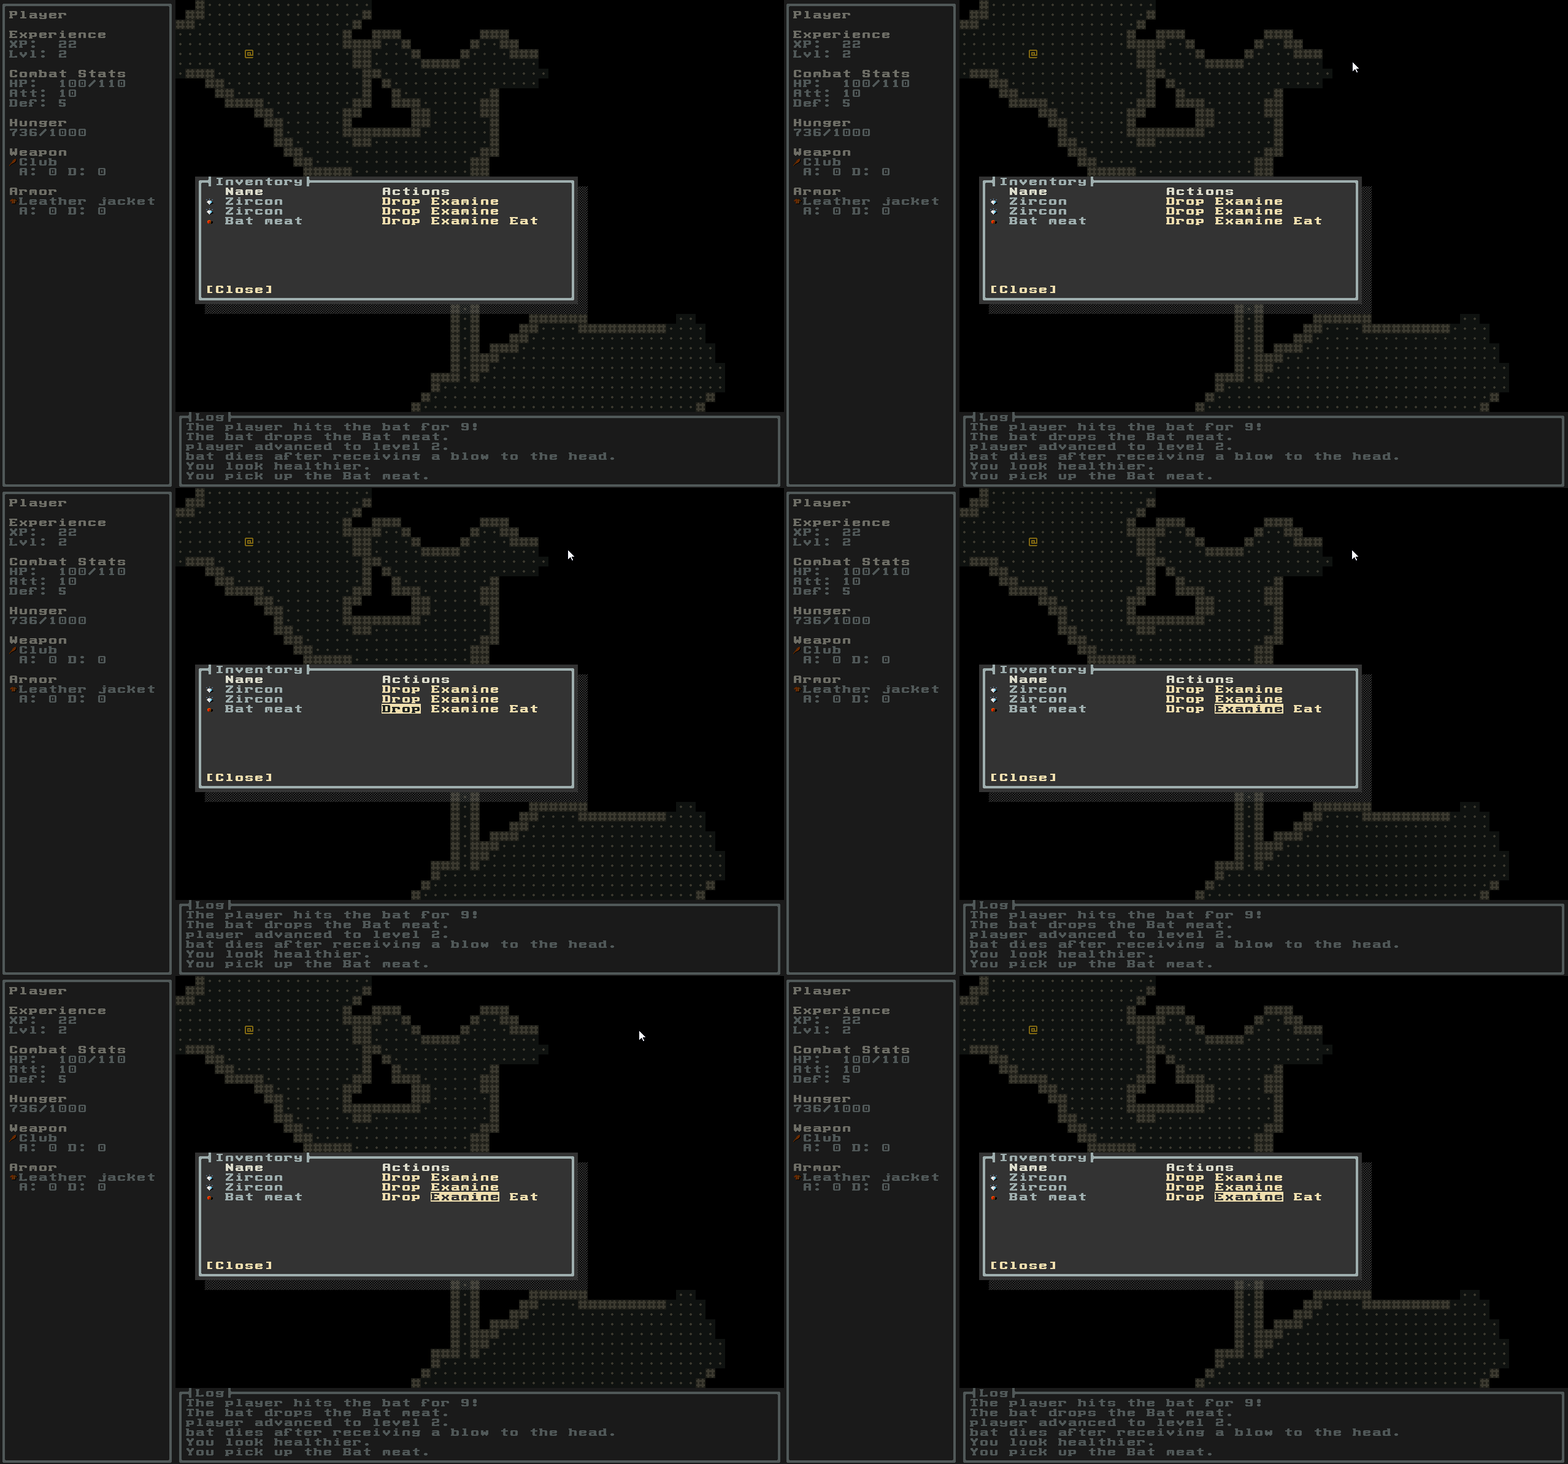
Then we can add an examine button to the InventoryRowFragment:
    // ...

    val examineButton = Components.button()
        .withDecorations()
        .withText("Examine")
        .build()

     override val root = Components.hbox()
             .withSpacing(1)
             .withSize(width, 1)
             .build().apply {
                 // ...
                 addComponent(examineButton)
                 // ...
Then we can add a callback for this to InventoryFragment:
class InventoryFragment(
        inventory: Inventory,
        width: Int,
        private val onDrop: (GameItem) -> Unit,
        private val onEat: (GameItem) -> Unit,
        private val onEquip: (GameItem) -> Maybe<GameItem>,
        private val onExamine: (GameItem) -> Unit
) : Fragment {

                         // ...

    private fun addRow(width: Int, item: GameItem, list: VBox) {

            // ...

            row.examineButton.onActivated {
                onExamine(item)
            }

            // ...

    }
Which we call in InventoryInspector:
import com.example.cavesofzircon.view.dialog.ExamineDialog

object InventoryInspector : BaseFacet<GameContext>() {


    // Note that we make the size of the dialog bigger here
    val DIALOG_SIZE = Sizes.create(40, 15)

    // ...

    onExamine = { item ->
        screen.openModal(ExamineDialog(screen, item))
    }
    // ...
    }
}
Let’s see what we have created!

Conclusion
We’ve added some nice additions to our game which greatly enhances the user experience. In the next article we’ll make one final addition which will make our game have a win and a lose condition!
Until then go forth and kode on!
The code of this article can be found in commit #18.